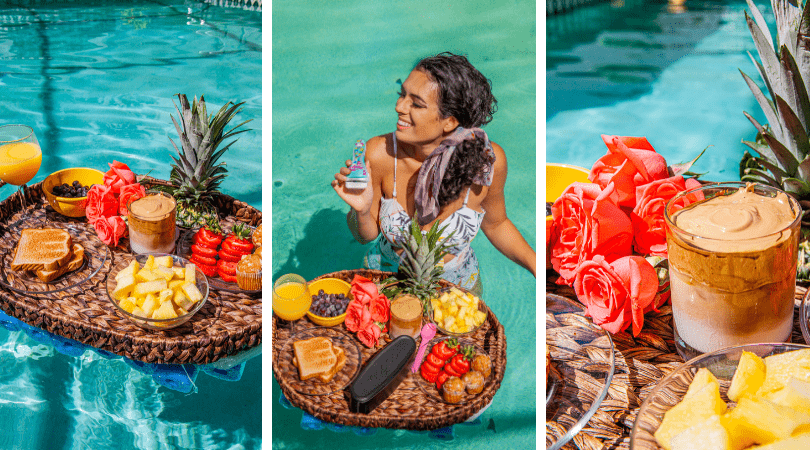
For our honeymoon, my husband and I took a romantic trip to Bali, Indonesia where we got to enjoy so many of the wonderful Balinese hot spots like the swings over the rice fields, floral spas, infinity pools, and so much more. My husband and I agreed we chose the perfect spot for our honeymoon. However, one of the common Balinese experiences that we didn’t get to experience was the Bali Floating Breakfast Tray.
I figured once we got home I would recreate the experience at home. However, when I went to look for them online, they were quite expensive. So we set out on a mission to create our own DIY Bali floating breakfast tray. It turns out that it’s pretty easy to create your own Bali floating breakfast tray. Then just load it up with all kinds of goodies and have paradise right at home!
We learned so much in creating our own Bali floating breakfast tray and even went through a couple of models to make sure that it could hold as much weight as possible (you bet that I went all out on our breakfast. Next time I might try to whip up a more traditional Balinese breakfast as well). If I did this again the only thing I would do different is get a larger tray. At first are tray seemed so big, but once we started loading it up I realized I definitely could have opted for a bigger tray!

Related Posts: Affordable Hotels in Bali under $100
What You Need
Overall I think the supplies cost about $30, but if you buy the tray from the a thrift store, you can snag some extra savings.
- Tray (the larger the better)
- Foam board (enough to fit under tray)
- Pool Noodle (multiple if a bigger tray)
- Clear Polyurethane
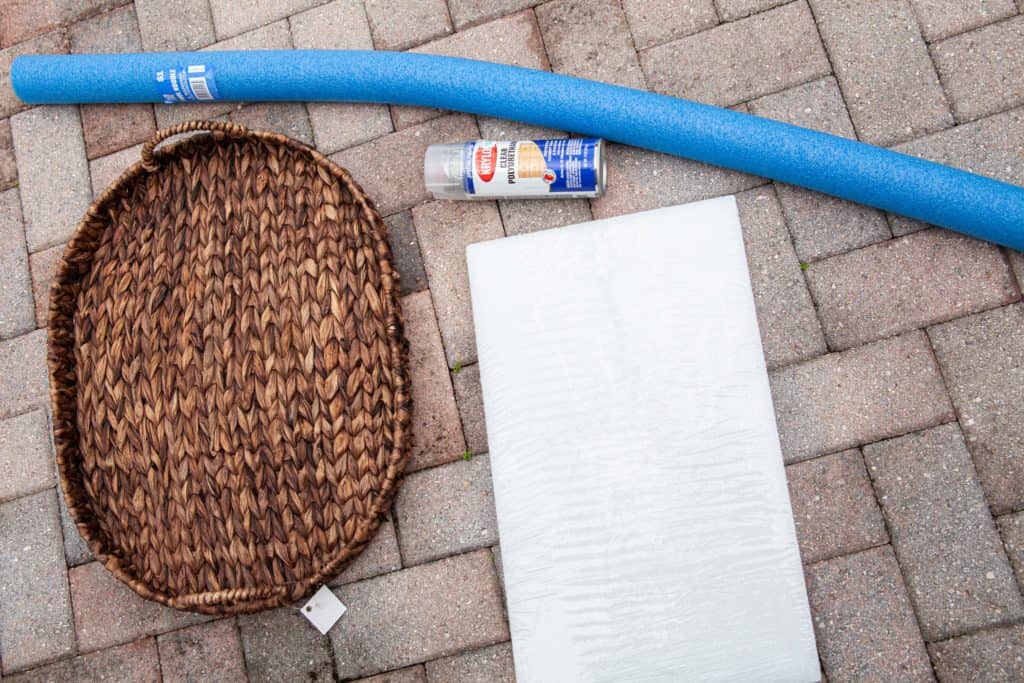
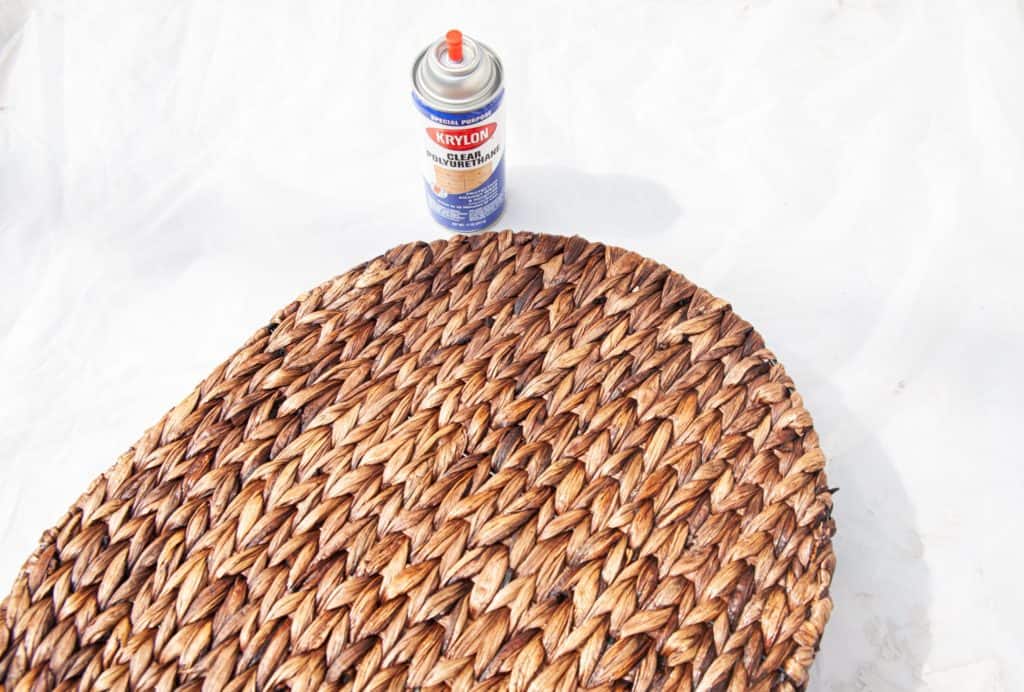
First, you want to spray your tray with the clear polyurethane. We left it out in the sun to dry and applied a few coats to make it water proof.
For the floating part, we cut the foam board so it would sit under the tray and also cut the pool noodle to match the tray. We chose a blue pool noodle because we knew it would show a little bit and wanted it to blend it in the water. To connect the pool noodles together we used the strong to thread them together and then threaded the boards through the noodles. Glue probably would have worked but we tried three different types of glue and none of them worked. The string holding them together ended up being pretty stable.
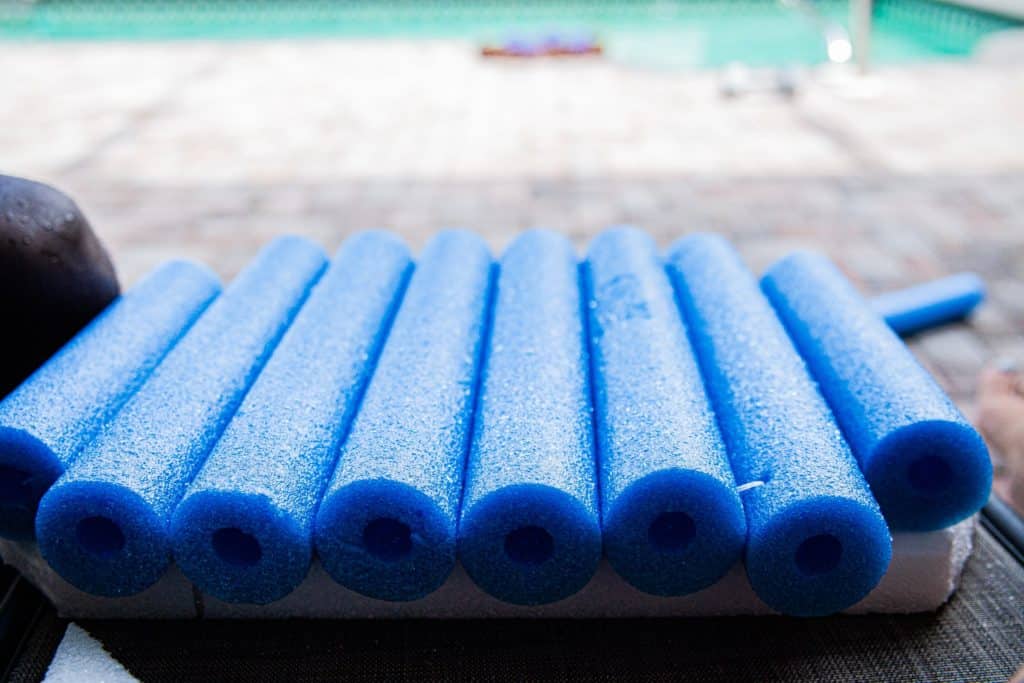
The tray and the floating foam are not attached for easy transport, but we found that there wasn’t an issue with it moving at all! To test it out we simply but a weight on top (our float was able to hold 15 lbs) to make sure it didn’t sink! Then we loaded it with all sorts of fruits and breakfast items! You do have to make sure that things are evenly placed so there’s not too much weight on one end or the other. However, I was surprised at how we were able to load it up and it would float on its own!
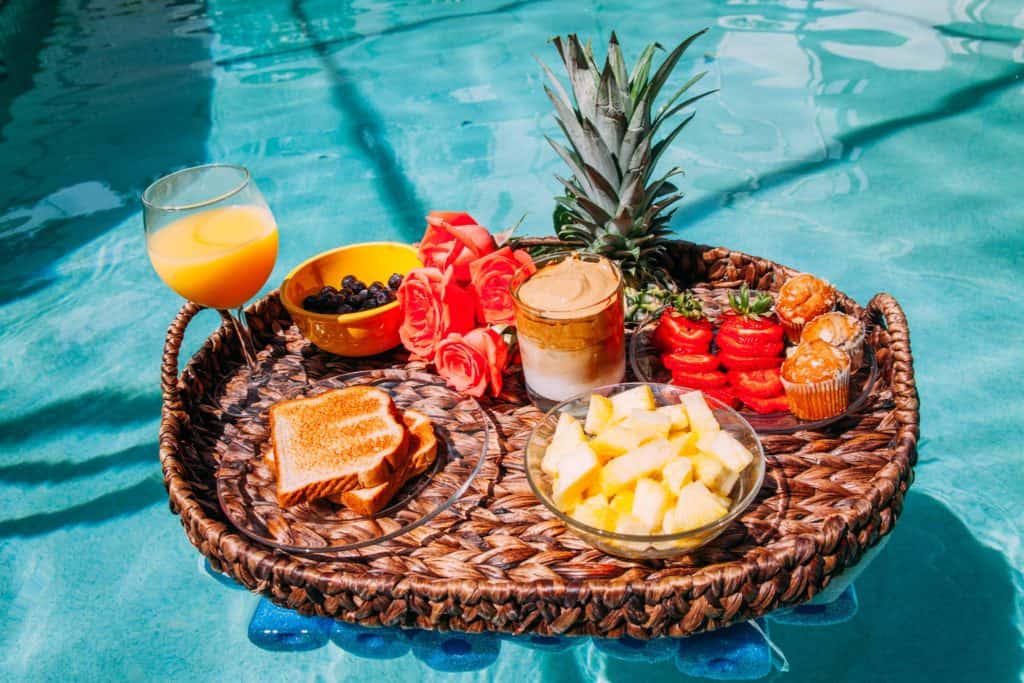
I’m so excited with how this turned out and plan on using it all Summer for snacks, holding my book, and making my pool feel like I’ve escaped back to Bali with this DIY Bali Inspired Floating Breakfast Tray!

Related Posts: Best Food To Try In Bali
Last Updated 7 months ago ago by Jessica Serna | Published: June 10, 2020


